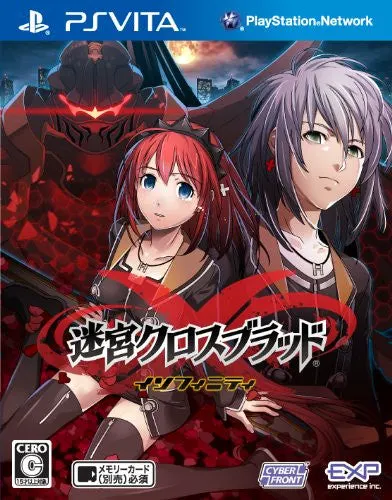
Labyrinth Cross Blood: In...
Labyrinth Cross Blood: Infinity Ultimate is a deep grid-b...

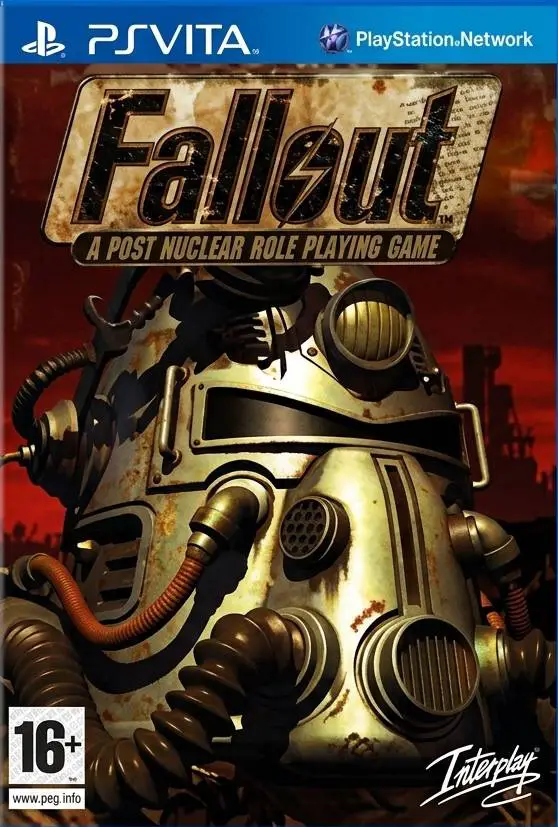
fallout-ce.vpk FileSELECT.fallout-ce.vpk into a temporary folder on your Vita, such as ux0:download/ or ux0:vpk/.fallout-ce.vpk, and press X to install it..vpk installer file from ux0:vpk/ to save storage space.(Note: If you are using Vita3K on PC/Android instead of a real PS Vita, simply open Vita3K, click File - Install .vpk, and select fallout-ce.vpk.)
ux0:data/fallout/ux0:data/.ux0/data/ directory on your computer.)fallout (all lowercase, not fallout1).ux0:data/fallout/ux0:data/fallout/:MASTER.DAT (or master.dat)CRITTER.DAT (or critter.dat)DATA folderfallout.cfg or f1_res.ini, copy those into ux0:data/fallout/ as well.When you open ux0:data/fallout/, you should see the files immediately at the root of that folder—do not wrap them inside an extra subfolder:
ux0:
└── data/
    └── fallout/
        ├── MASTER.DAT
        ├── CRITTER.DAT
        ├── fallout.cfg      (optional, generated automatically on first launch if missing)
        └── DATA/
            ├── art/
            ├── MAPS/
            ├── SCRIPTS/
            ├── .SOUND/
            └── TEXT/
“Could not find the master datafile” error on startup:
Double-check that the folder is named ux0:data/fallout (not fallout1 or Fallout1).
Ensure MASTER.DAT and CRITTER.DAT are placed directly inside ux0:data/fallout/ and not nested inside another folder.
Rename master.dat and critter.dat to uppercase (MASTER.DAT and CRITTER.DAT) if the engine fails to detect lowercase filenames.
No background music:
Make sure the .SOUND folder inside ux0:data/fallout/DATA/ was copied completely, as some file transfer tools skip hidden folders starting with a dot (.SOUND) unless hidden files are enabled.
Click the links below to go to the cloud drive download page
⚠️ Download Tips:
Labyrinth Cross Blood: Infinity Ultimate is a deep grid-b...
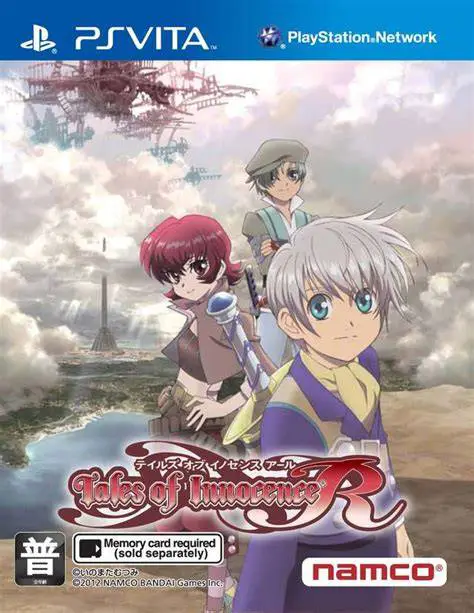
Tales of Innocence R for the PlayStation Vita is a fully ...
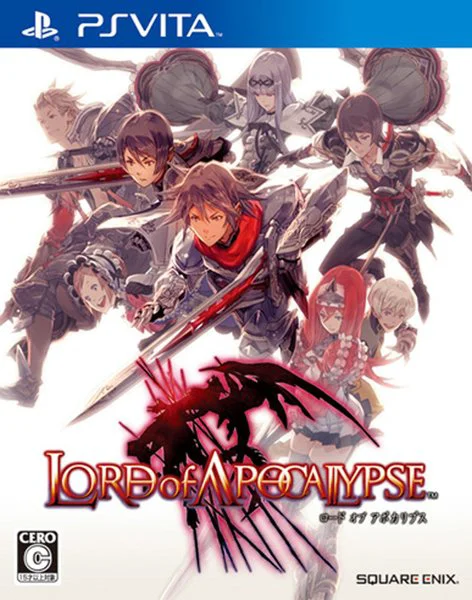
Lord of Apocalypse for the PlayStation Vita is an action ...
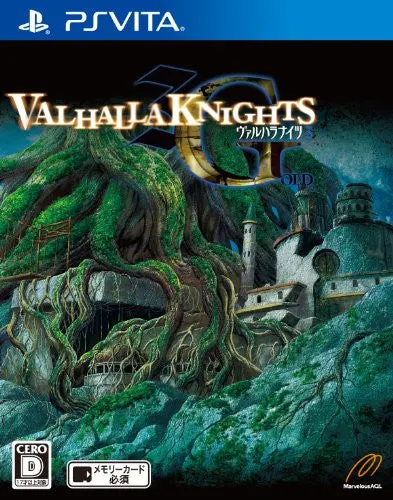
Valhalla Knights 3 Gold for the PlayStation Vita is an en...
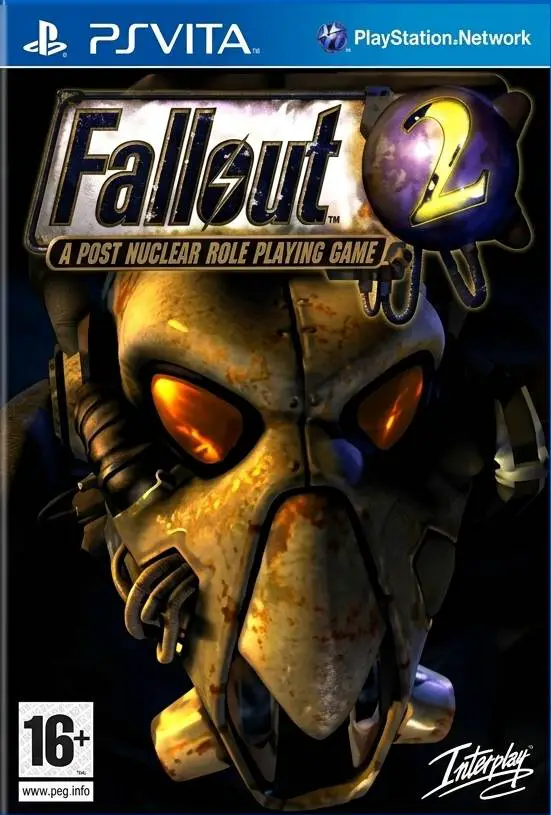
Fallout 2 is the 1998 sequel to the classic post-apocalyp...